RE-EDITING BLOG FT: DAY 4
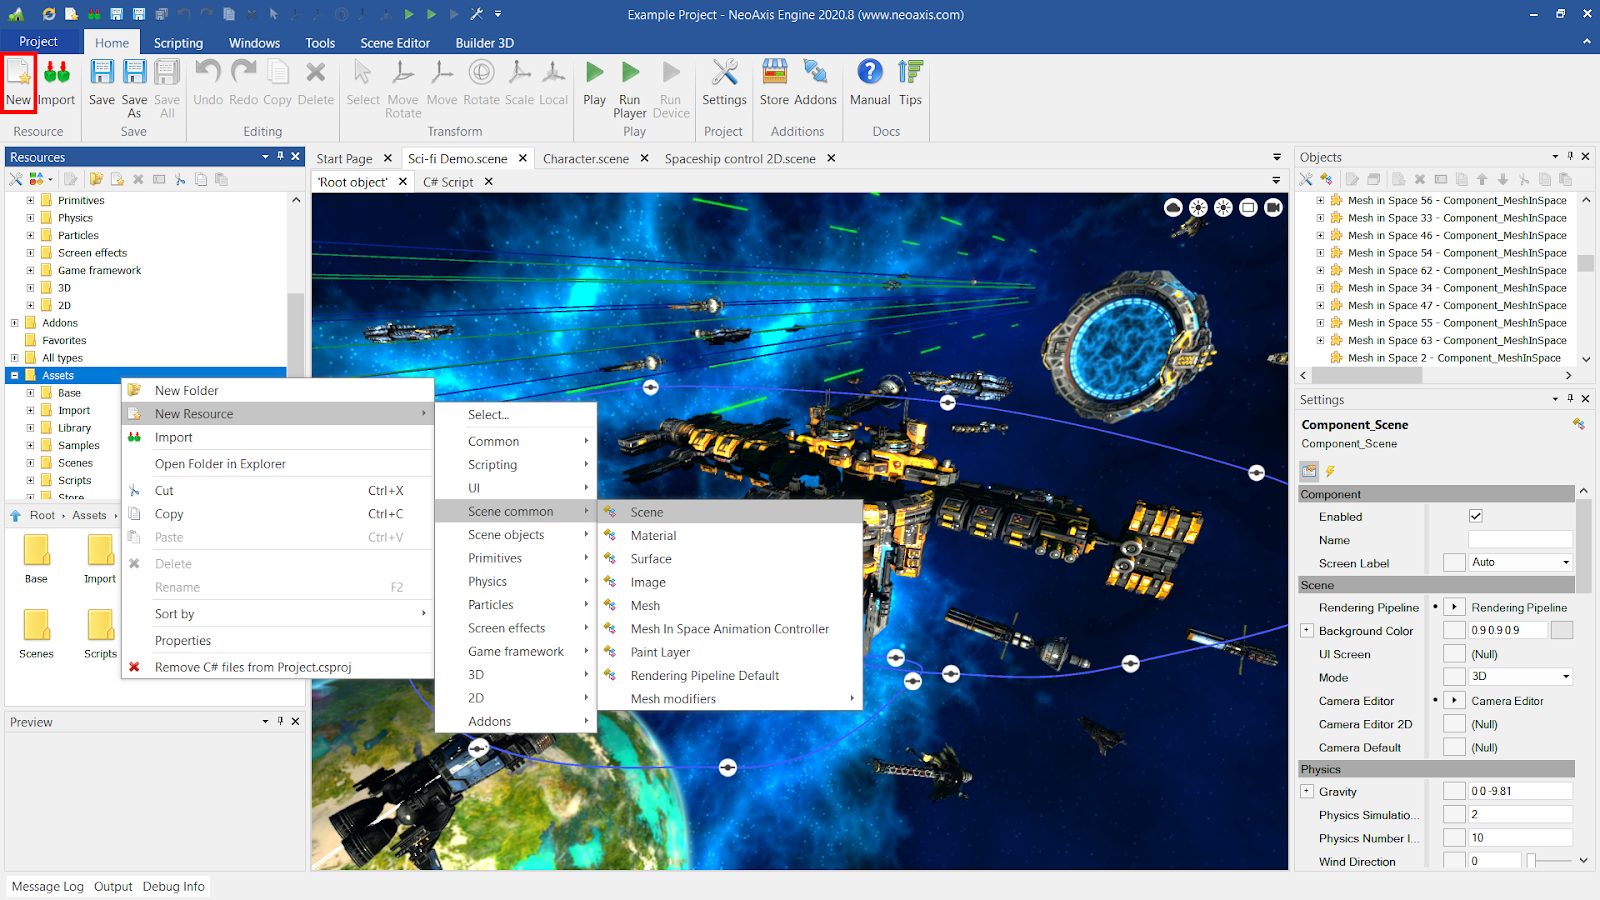
We finally chose to incorporate the pictures that were required and comprise the majority of our video into the final product after taking them. We looked over the tutorials of several apps to decide which one to utilize. We looked through programs like Capcut, Video Star, Kinemaster, and Alight Motion. We ultimately decided to utilize Cap Cut since it was the most straightforward and user-friendly editor. Alight Motion required excessive labor to modify a single scene since it was too intricate and focused. We determined that Video Star's requirement for in-app purchases was unnecessary for the video. Kinemaster required more complexity and an unremovable marking. We created a new project with a cap cut and included our captured images. First, "our studio name presents" is written in letters on a black screen in the opening scene. Afterward, a close-up of the shopping cart, an above view, and a close-up of her eyes are shown. Next, we added a second black screen that displayed the letters representing our production company's name. We improved the transition by grouping the scenes together. We selected our preferred audio selections and incorporated them into the film after adding the scenes. We separated and synced the sections that more closely complemented the atmosphere created. Later on, when a scenario involving our performers appears, we add words and sentences denoting their names and the characters they portray. To make the title card scenario more dramatic, we improved the audio and increased the volume. Then, in the moments that follow, there's a change in tone and an alternating rhythm that produces a dramatic effect. While some scenes come too quickly, others beg for additional details to be revealed. additionally the name of the person who made the noises. This is most likely our final decision on our choice of editing software.


Comments
Post a Comment